Formatting the Computer with Windows XP CD
Format Checklist
Before you format, make sure you have completed the following checklist.
- You have all the drivers required after the format
- The CD/Setup files for the applications you need to install (eg. Office, Winamp, Winzip, eMule, Azureus, etc)
- Make sure you have backed up all important files like word Documents, images and videos onto CD/DVD
- Remember to save your favourites (a common overlooked item)
- Ensure that your Windows XP CD has SP2 preloaded. If not, ensure that you have the SP2 Setup File
- An antivirus for installation after installing XP
Formatting
To format the computer, we would have to use the Windows XP CD. (Home or Professional is fine).
- First boot the computer onto the XP CD. (Configure the BIOS boot sequence to boot from CD)
- If its booting from CD, a phrase would appear saying Press any key to boot from CD.... Press any key to do that (Please don't ask what is the any key. I'll smack you! :P)
- A blue screen would appear showing the Windows XP Setup with some loading at the bottom of the screen.
- After all the loading a Welcome to Setup Screen would appear

- Press Enter to continue
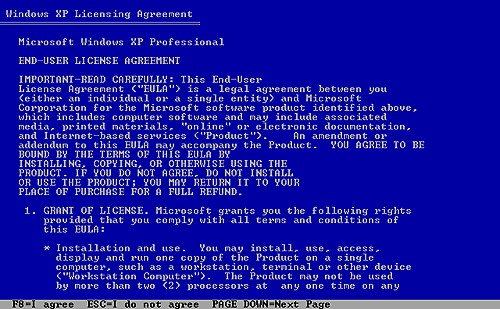
- The Windows XP Licensing Agreement screen would show up. Read it if you want, if not just press F8. If you do, press F8 anyway

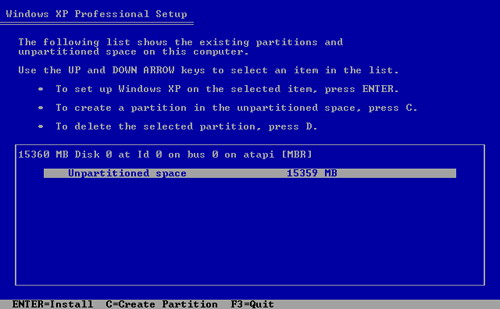
- Now, we'll be in the page which shows the existing partitions and unpartitioned space on your computer

- To format, we'll have to delete the partition and recreate it
- Press D key to delete the partition
- If its a system partition a screen would appear asking if you are sure with the deletion, press Enter to confirm

- Another confirmation screen would appear and to confirm the deletion

- Press the L key.

- Now we'll be back to the original partition screen showing your unpartitioned space as we have deleted the partition.
- Press the C key to create a partition

- Enter the size for your partition.
- The maximum size possible is already automatically entered.
- Press Enter to confirm

- We'll be back to the partition page showing your partitioned space and some unparititoned space.
- The unpartitioned space which is small cannot be partitioned (I'm not sure why yet)
- To begin the format and the installationo of Windows XP, press Enter

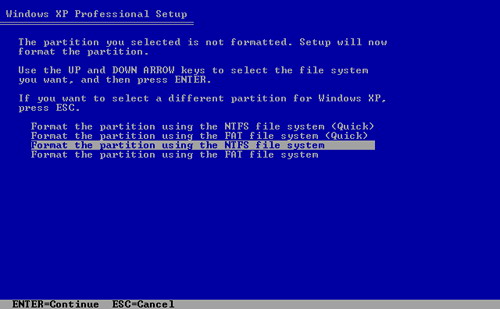
- The format page will appear prompting some format options. If your partition is above 40GB, the FAT option is not shown.
- There will be 2 format options, Quick and the non-Quick. If you're rushing for time, you may use the quick but the non-quick one is always recommended

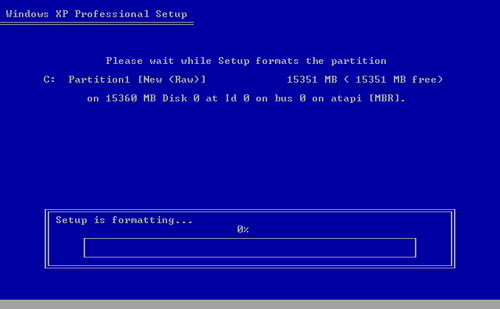
- Press enter and the format will commence
- once done, the installion of windows XP will begin
- Follow the instructions to complete the installation.


posted by Leto @ 4:05 AM
3 comments
![]()


3 Comments:
Formating the Computer using MS-DOS 6.22 Disks
1) Place the disk labelled as MSDOS 6.22 (Disk 1) into the A: Drive
2) Switch on the Computer
3) Wait until you see the following prompt on screen: '[A:\]'
4) Enter the following: 'FORMAT C:'
5) Press the Enter Key, and press 'Y' when prompted if you wish to continue
The format utility will now begin to format your C: Drive
that works. but where does one find a ms-Dos 6.22 disk??
Not to mention, not all PC's come with Disk Drives anymore.. :P
Can always get the MS DOS 6.22 Disk images from the P2P networks that you love so much mah.. Not to mention, its possible to write the disk images to a USB drive and boot from there if there's not Disk Drives anymore right?
Post a Comment
<< Home